Quick Overview:
WordPress is one of the most popular and user-friendly platforms for creating websites. It powers over 40% of the web and offers thousands of themes and plugins to customize your site according to your needs. You don’t need coding experience to build a WordPress website, as you can use the intuitive dashboard and drag-and-drop features to design your pages and add content.
In this guide, we will show you how to create a WordPress site without coding experience in five simple steps:
5 Simple Steps to Create a WordPress Website with No Coding Experience
- Get a domain name and a hosting plan.
- Install WordPress on your hosting account
- Select a theme and customize your WordPress website
- Add content and pages to your site.
- Install plugins and add functionality to your site
Step 1: Get a domain name and a hosting plan
The first step to creating a WordPress website is to get a domain name and a hosting plan. A domain name is the web address of your website, such as www.abc.com. A hosting plan is a service that provides the space and resources for your website to run online.
Select a domain name aligned with your niche and brand, ensuring it’s available and not trademarked. Use Namecheap or GoDaddy to check availability and purchase through them or your hosting provider.
Step 2: Install WordPress on your hosting account
The next step to creating a WordPress website is to install WordPress on your hosting account. It is usually a simple and quick process, as most hosting providers offer one-click WordPress installation. You need to log in to your hosting account, find the WordPress icon or option, and follow the instructions to install WordPress on your domain name.
Alternatively, you can install WordPress manually by downloading the WordPress software from wordpress.org and uploading it to your hosting account using FTP or File Manager. You will also need to create a database and a user for your WordPress site and edit the wp-config.php file with the database details.
Once you have installed WordPress on your hosting account, you can access your WordPress dashboard by typing your domain name and/wp-admin in your browser – for example, www.example.com/wp-admin. You must enter the username and password you created during installation.
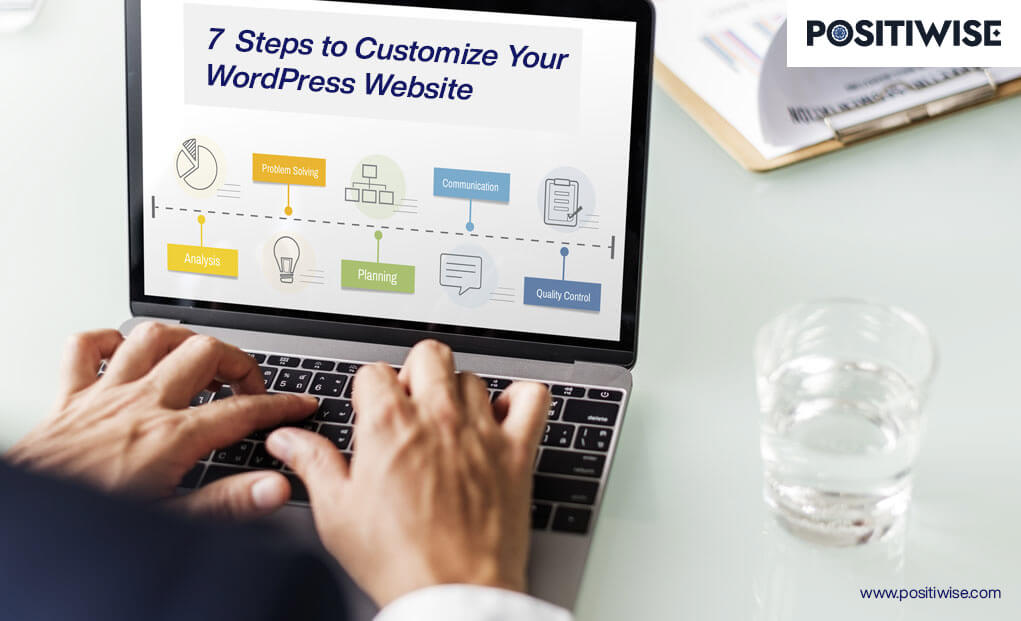
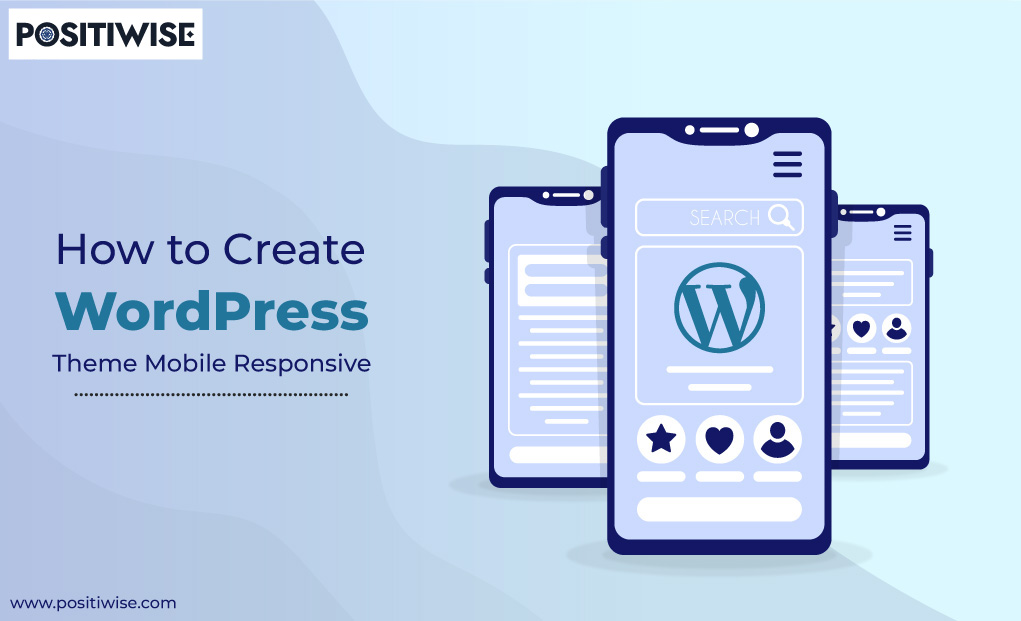
Step 3: Select a theme and customize your site
The third step to creating a WordPress website is to select a theme and customize your site. A theme is a template that defines the Appearance and layout of your site. WordPress offers thousands of free and premium themes for different niches and purposes. You can browse and install themes from the WordPress repository or third-party sources like ThemeForest or Elegant Themes.
To select a WordPress website theme, go to Appearance > Themes in your dashboard and click on Add New. You can search for themes by keyword, category, feature, or popularity. You can also preview how each theme looks on different devices before installing it.
To install a theme for your WordPress website, click on Install and then Activate or upload a zip file of the theme if you downloaded it from another source. Once you have activated a theme for your site, you can customize it according to your preferences.
To customize your theme for your WordPress website, you can go to Appearance > Customize in your dashboard and use the live preview feature to make changes to various aspects of your site, such as color, fonts, menus, widgets, header, footer, logo, etc. Using drag-and-drop elements. You can also use plugins like Elementor or Beaver Builder to create custom page layouts and designs.
🚀 Ready to take your online presence to the next level? 🚀
Our expert WordPress developers are skilled in crafting eye-catching and responsive websites that align perfectly with your vision and business objectives. Whether you need a personal blog, an e-commerce store, or a corporate website, our team has got you covered!
Step 4: Add content and pages to your site.
The fourth phase in building a WordPress website is adding content to the web pages. Primarily, you need to add content on the home page, contact page, about us page, and any other page relevant to your website. It would help visitors understand your services, products, blogs, and other relevant information you want to provide.
Further, you can use the posts feature to add content to your WordPress site. It would help you publish the information in the form of a blog, article, and reviews. And the best thing is that you can also upload associated images and embed videos for better explanation.
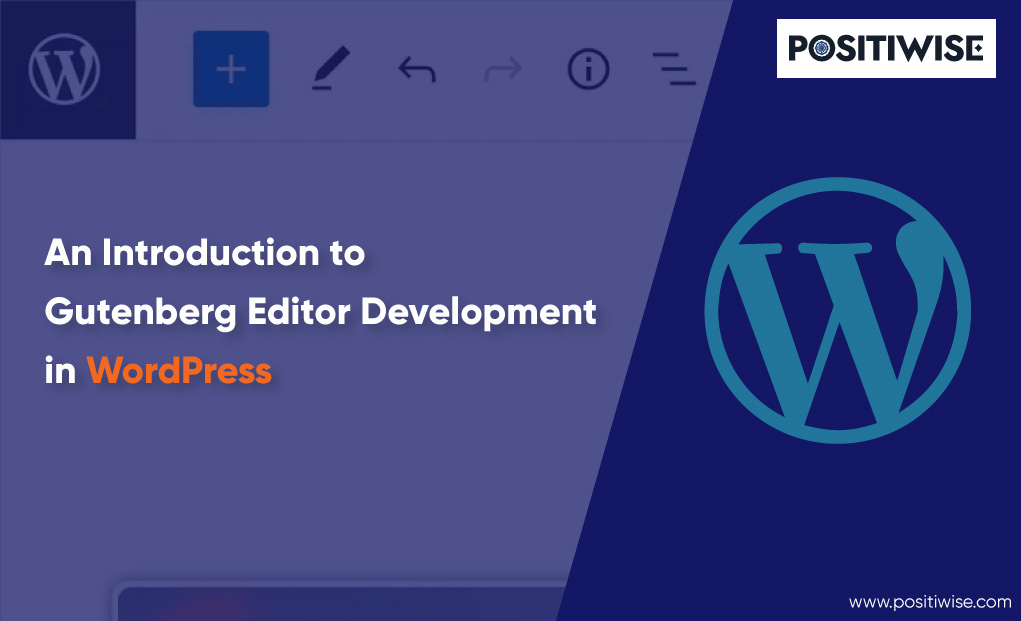
Additionally, to add the posts on your WordPress site, go to the Posts on the dashboard. Then, select Add New option under it. Now, you will see a WordPress editor, enabling you to add headings and sub-headings and upload media, such as images, videos, audio, and more. Besides, it also allows uploading files, such as PDFs.
Furthermore, you can also add pages to your WordPress website. For it, go to the WordPress dashboard, then under Pages, select the Add New option. Now, you will see WordPress editor providing the features and tools to create multiple webpages and add content to them. Also, it will enable you to embed media files into your pages using the Add Media button.
Some of the essential pages that you should create for your WordPress website include the following:
- Home page: The first page would be visible to every visitor. You need to ensure that the Home page efficiently showcases and defines the brand value and trust and must contain details about your products, services, and a CTA (call-to-action).
- About page: The purpose of this page is to tell visitors about you or your organization. It helps the end-users understand your services, mission statement, organizational goal, achievements, and similar information.
- Contact page: You must add your address, email, and phone number to the contact page. It’s the primary page where customers can collect the details to contact you. In addition, you can also add social media profile links or any other mechanism to reach out to you.
- Services or Products page: The service page displays your offerings. For example, if you provide blog writing services, then you can provide information about that on the page. And if you create an eCommerce store or sell a product, you can create a product page. It will show an image of the product, its price, features, reviews, and shipping details.
Step 5: Install plugins and add functionality to your site
The fifth and final step to creating a WordPress website is installing plugins and adding functionality. Plugins are extensions that enhance the features and performance of your site. WordPress offers over 50,000 free and premium plugins for different purposes and functions. You can browse and install plugins from the WordPress repository or third-party sources like CodeCanyon or WPBakery.
Further, adding a plugin to a WordPress site is relatively easy. From the WordPress dashboard, select the Plugin –> Add New. It will open a new interface, showing top plugins and a search bar. You can select any of the available plugins, and if you want, you can also create a custom plugin and use it. However, for custom plugins, you need to learn to code. Otherwise, you can also avail of WordPress plugin development services for it.
In addition, after selecting the plugin, install it. And after its installation, activate the theme.
Some of the most popular WordPress plugins that you can use:
- Yoast SEO: This digital marketing plugin explicitly optimizes WordPress sites for search engine ranking. It helps to improve the site’s visibility by supporting the creation of meta-descriptions, keywords, URLs, images, titles, and more. In addition, you can also use it to enhance the readability and overall SEO score of the site.
- WooCommerce: It’s one of the most popular and widely used plugins for creating eCommerce stores within business constraints. You can use it to create a full-fledged online store for selling physical and logical products, execute online payments, provide user analytics, and even integrate with marketing tools.
- Contact Form 7: If you want to create and effortlessly manage contact forms, then the Contact Form 7 plugin is the best. It aids in customizing any type of form and adds the fields of your choice. Moreover, you can also configure validation mechanisms and extend their functionalities by embedding third-party components.
- Jetpack: When it comes to improving WordPress site performance, security, and design, Jetpack is a relevant plugin. It provides various modules, such as social sharing, spam detection and protection, image optimization, and stats. In addition, it also aids in connecting the site with WordPress.com for better access to services and tools.
- Elementor: For building appealing and responsive websites without writing any code, Elementor is the right plugin for you. It aids in creating any webpage by using its drag-and-drop facility. You can create a complete website with a home page, service page, product page, contact page, or any other.
Congratulations! You have successfully created a WordPress site without coding experience. You can launch and promote your site using various online marketing strategies and approaches.
Conclusion
In summary, building a WordPress site without coding is entirely feasible, thanks to user-friendly themes, plugins, and intuitive interfaces. By leveraging these resources, users can craft professional-looking websites effortlessly. Emphasizing creativity and content quality over technical expertise, this approach democratizes website creation for a broader audience.

Expert in Marketing Strategy and Brand Recognition
Jemin Desai is Chief Marketing Officer at Positiwise Software Pvt Ltd, he is responsible for creating and accelerating the company’s marketing strategy and brand recognition across the globe. He has more than 20 years of experience in senior marketing roles at the Inc. 5000 Fastest-Growing Private Companies.